Best Paint for Kitchen Cabinets: Complete Guide & Top Picks for 2026
If the kitchen is the heart of the home, the cabinets must be the soul which is why picking the best paint for cabinets is essential. Cabinets take up so much surface space that they set the visual tone for your entire kitchen. The right paint creates the drama, flair, or charm that you’re looking for, while also providing a durable shield against daily wear and tear.
A fresh coat of paint, either brushed or sprayed on, can mask age or damage at a fraction of the cost of replacement. Repainting cabinets costs $2,000–$5,000 on average, compared to $8,000–$15,000+ for new custom cabinets. It’s never a bad time to consider it as a DIY renovation project.
Quick Answer: The best paints for kitchen cabinets in 2026 are waterborne alkyd enamels that combine the durability of oil-based paints with easy soap-and-water cleanup. Our top picks include Benjamin Moore Advance (best overall), Sherwin-Williams Emerald Urethane Trim Enamel (best factory finish), and Behr Urethane Alkyd Enamel (best value) .
Top 5 Best Paints for Kitchen Cabinets (2026)
After extensive research and analysis of professional recommendations and user reviews, here are our top recommendations:
| Brand | Finish Options | Durability | Application | Best For | Price Range |
|---|---|---|---|---|---|
| Benjamin Moore Advance | Satin, Semi-gloss, High-gloss | Excellent | Self-leveling, forgiving | Overall best | $$$ |
| Sherwin-Williams Emerald | Satin, Semi-gloss | Excellent | Self-leveling, requires skill | Factory finish | $$$$ |
| Behr Urethane Alkyd | Semi-gloss | Very good | Self-leveling, prone to drips | Best value | $$ |
| Insl-X Cabinet Coat | Satin, Semi-gloss | Very good | Adheres without primer | Problem surfaces | $$ |
| General Finishes Milk Paint | Matte | Good | Self-leveling | Farmhouse style | $$$ |
1. Benjamin Moore Advance Waterborne Interior Alkyd – Best Overall
Benjamin Moore Advance Waterborne Interior Alkyd is our top-rated paint for cabinets. It has everything you want in a cabinet paint: durability, rich color, and easy application .
This waterborne alkyd paint combines the durability of an oil-based paint with the easy cleanup and low odor of a water-based paint. The underlying chemistry of this paint type is so good that it’s begun to sideline traditional oil-based paints entirely .
Key Features:
- Dries to a tough, durable shell – Resists chipping, scuffing, and staining
- Self-leveling formula – Minimizes brush strokes for a smooth, factory-like finish
- Low VOC – <50 g/L, even after tinting
- Available in over 3,500 colors – Tinted with Benjamin Moore’s proprietary Gennex® Color Technology
- Coverage: 400–500 sq ft per gallon
- Dry time: 4–6 hours to touch
- Recoat time: 16 hours
- Full cure: 7 days
- Cleanup: Soap and water
Pros:
- Exceptionally durable finish
- More forgiving than competitors (less likely to show brush strokes)
- Great flow and leveling
- Available at Ace Hardware and Benjamin Moore retailers
Cons:
- Long cure times (full hardness takes a week)
- May yellow slightly over time, but far less than true oil paints
Best For: Homeowners who want professional-looking results with easier application.
2. Sherwin-Williams Emerald Urethane Trim Enamel – Best Factory Finish
Sherwin-Williams Emerald Urethane Trim Enamel is arguably the best cabinet paint out there if you’re after a factory-fresh look. It has most of the same attributes as Benjamin Moore Advance—it’s a waterborne alkyd that’s self-leveling and dries to a hard, durable surface .
Key Features:
- Self-sealing – No topcoat required
- Urethane-reinforced – Exceptional durability and adhesion
- Low VOC – Meets strict environmental standards
- Available in thousands of colors
Pros:
Cons:
- Expensive (among the most premium options)
- Less forgiving than Benjamin Moore—brush strokes and drips more likely if technique isn’t perfect
- Requires careful application
Best For: Experienced DIYers and professionals who want the absolute best finish quality.
3. Behr Urethane Alkyd Semi-Gloss Enamel – Best Value
If you love what you’ve read about premium cabinet paints but you’re working on a tight budget, consider Behr Urethane Alkyd Semi-Gloss Enamel. Like those more expensive brands, it’s a self-leveling, waterborne alkyd paint, so you get the durability of oil without the overwhelming VOCs .
Key Features:
- Waterborne alkyd formula – Oil-like durability with water cleanup
- Self-leveling – Smooth finish when applied correctly
- Affordable – Significantly less than premium competitors
- Available at Home Depot
Pros:
Cons:
- Prone to sags and drips if over-applied
- Requires multiple thin coats for best results
- Potentially long cure times
Best For: Budget-conscious DIYers willing to exercise patience and careful technique.
4. Insl-X Cabinet Coat – Best for Difficult Surfaces
Insl-X Cabinet Coat is the ultimate finish for refurbishing kitchen and bathroom cabinets, shelving, furniture, doors, trim, and crown molding. It creates an ultra-smooth, factory-like finish with long-lasting beauty .
What Makes It Special:
With its superior adhesion, Insl-X Cabinet Coat allows you to paint difficult surfaces, even polyurethane and varnish, without using a primer. This paint’s durability sets it apart from standard options .
Key Features:
- Superior adhesion – Bonds to challenging surfaces including polyurethane and varnish
- Resists chipping, scuffing, food stains, grease, and water
- Excellent flow and leveling – Creates smooth, professional results
- Two finishes available: Satin and Semi-Gloss
Pros:
- May eliminate need for primer on some surfaces
- Extremely durable
- Great for laminate cabinets
Cons:
Best For: Cabinets with existing varnish or challenging surfaces where other paints might fail.
5. General Finishes Milk Paint – Best Farmhouse Style
Milk paint, like chalk paint, has a unique finish that you either love or you don’t. The natural, matte finish is popular with those chasing a farmhouse aesthetic. General Finishes Milk Paint is self-leveling and applies easily .
Key Features:
- Self-leveling formula – Smooth application
- Durable finish – More durable than chalk paint
- Low VOC – Made from renewable resources
- Available in 12 pre-mixed colors plus tintable base
Pros:
- Beautiful matte aesthetic
- Good durability (with topcoat)
- Environmentally friendly
Cons:
Best For: Achieving a specific farmhouse or vintage look with proper sealing.
Paint Types Explained: Choosing the Right Formula
Waterborne Alkyd (The Modern Standard)
Waterborne alkyd paints combine the best of both worlds—the durability of traditional oil-based paints with the easy cleanup and low VOCs of water-based paints. They self-level beautifully and cure to a hard, protective shell .
Best for: Most kitchen cabinet projects
Drying time: 4–6 hours to recoat, 7 days to full cure
Traditional Oil-Based Alkyd
Prior to waterborne alkyds, tough and durable cabinet paint was only available in oil-based formulas. If you wanted that hard shell of protection, you had to put up with strong VOCs and solvent cleanup .
Best for: Historical accuracy, though largely obsolete
Drying time: 6–8 hours to recoat, days to cure
Acrylic Latex
Standard latex paints are softer and less durable than alkyds. While they’re easy to work with, they can remain soft after drying and may not withstand the wear and tear of kitchen cabinets .
Best for: Low-use cabinets or budget constraints
Drying time: 1–2 hours to recoat, 2–3 weeks to full cure
Chalk Paint
Chalk paint creates a soft, textured matte surface with minimal prep work. However, it’s not very durable and requires a sealing coat of wax or polyurethane for kitchen use .
Best for: Distressed, vintage, or shabby chic aesthetics
Milk Paint
Milk paint offers a natural matte finish with better durability than chalk paint. Still, a protective topcoat is strongly recommended for kitchen cabinets .
Best for: Farmhouse style with proper sealing
How to Choose the Perfect Finish
| Finish | Sheen Level | Durability | Hides Imperfections | Shows Fingerprints |
|---|---|---|---|---|
| Matte | Low | Good | Excellent | Minimal |
| Satin | Medium | Very Good | Good | Low |
| Semi-gloss | Medium-High | Excellent | Fair | Moderate |
| High-gloss | High | Excellent | Poor | High |
For most kitchens: Satin or semi-gloss finishes offer the best balance of durability, cleanability, and forgiveness. They resist stains and grease while hiding minor imperfections .
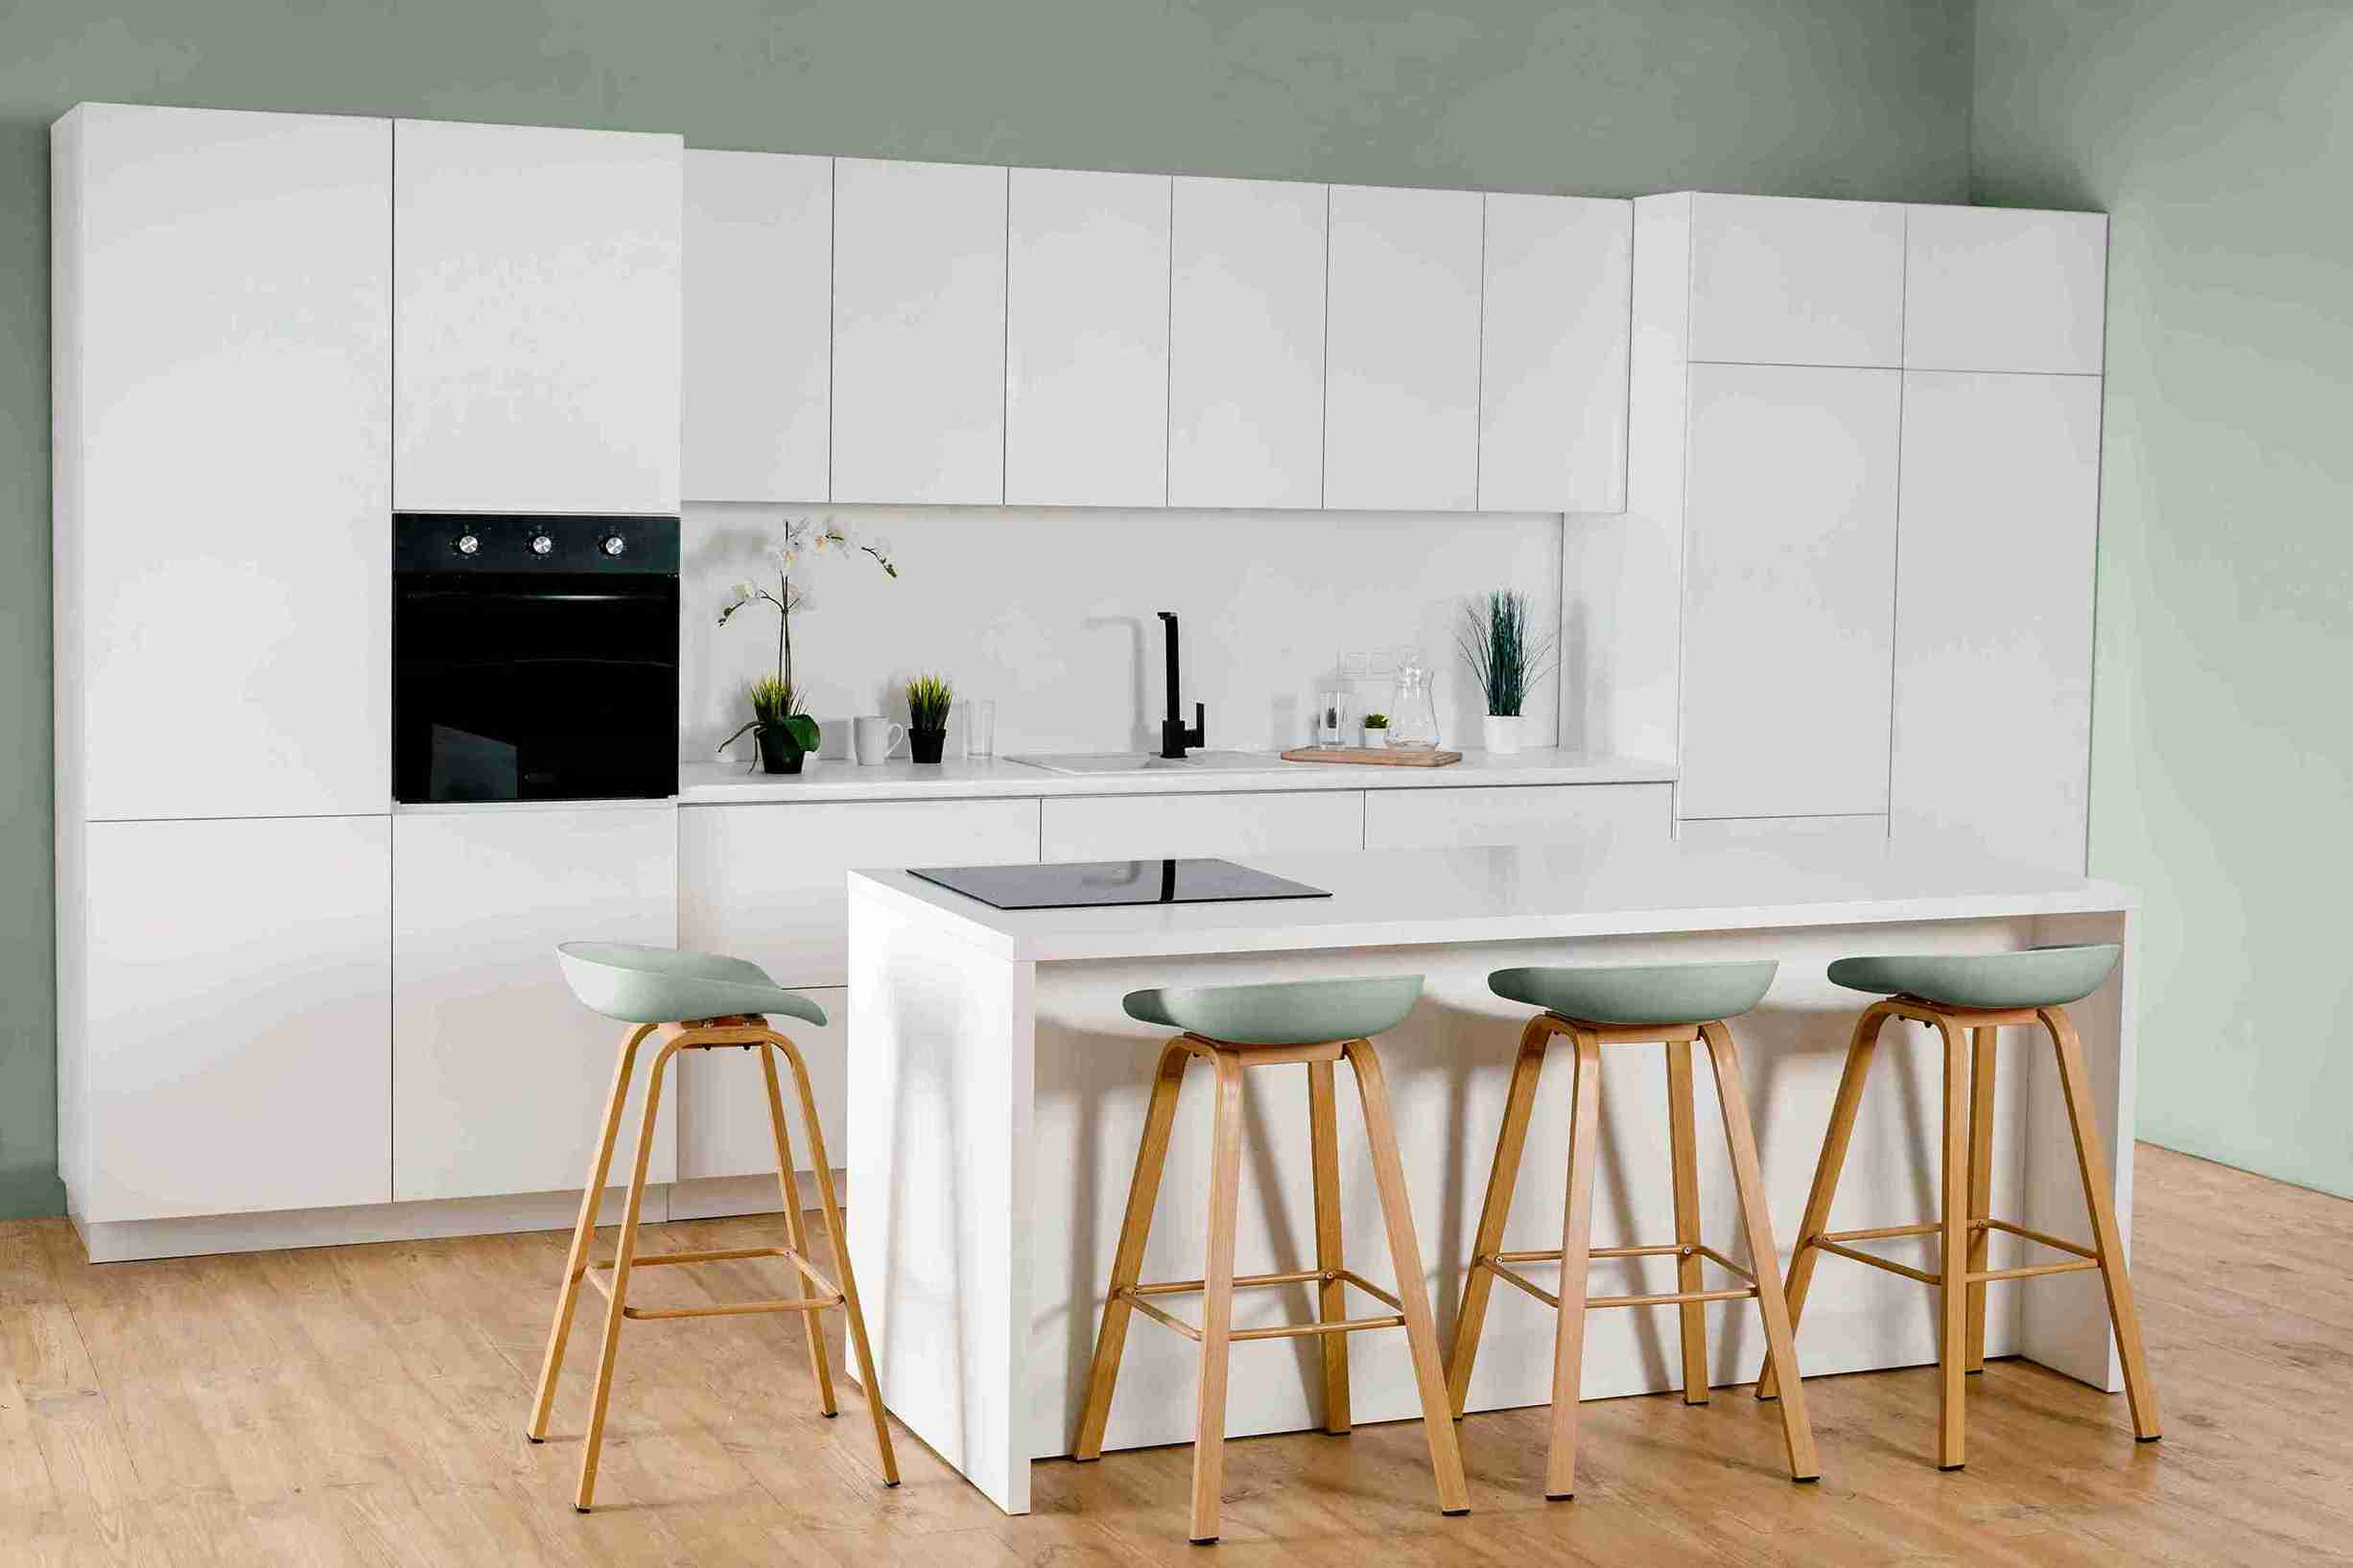
Pro tip: High-gloss finishes deliver a bold, contemporary look and are easy to wipe clean, but they show imperfections and fingerprints more readily. Use high-gloss on smaller elements like an island rather than an entire kitchen .
Complete Step-by-Step Guide to Painting Kitchen Cabinets
Tools You’ll Need
- High-quality paint (see recommendations above)
- Primer (if recommended for your surface)
- TSP cleaner or degreaser
- Sandpaper (medium and fine grit)
- Tack cloth
- Painter’s tape
- High-quality brushes (angled sash brush)
- Foam roller and mini roller covers
- Painter’s tripods or pyramids
- Screwdriver for hardware removal
- Labels or bags for organizing hardware
Step 1: Assess Your Cabinets
Determine the condition of your cabinets. Surfaces that are already painted can be painted again if the existing paint is in good condition. If not, you’ll need to remove the old paint using a stripper .
⚠️ Caution: If your cabinets were previously painted and your house was built before 1978, the paint may contain lead. Use a testing kit or call a professional for help .
Step 2: Remove Doors, Drawers, and Hardware
- Empty all cabinets completely
- Remove doors, drawers, and all hardware
- Label each door and drawer with painter’s tape noting its location
- Place hardware in labeled bags
Step 3: Clean Thoroughly
Clean all surfaces with a trisodium phosphate (TSP) cleaner to remove any grease and dirt. This step is absolutely critical—cabinets accumulate cooking grease that can prevent paint from adhering properly .
Step 4: Repair Damage
Fill dents and holes with wood filler using a putty knife. Let dry completely and sand smooth. Don’t fill hardware holes if you’re reusing the same hardware .
Step 5: Sand Everything
Sand all surfaces with medium-grit sandpaper (120–150 grit) to help paint adhere. Fold sandpaper to get into detailed areas. For laminate cabinets, sand lightly—just enough to scuff the surface without damaging the laminate .
Step 6: Vacuum and Tack
Vacuum all surfaces thoroughly, then wipe with a tack cloth. Everything must be completely dust-free before priming .
Step 7: Prime
Apply a high-quality primer designed for cabinets. For most projects, this is an essential step .
Primer guidelines by surface:
- Bare wood: Standard primer
- Laminate: Bonding primer required
- Previously painted: Primer if changing color dramatically or if existing finish is glossy
- Varnished surfaces: Insl-X Cabinet Coat may eliminate need for primer
Step 8: Paint
For cabinet frames:
- Work from the inside out
- Use a brush for corners and detailed areas
- Use a mini roller for large, flat areas
- “Lay off” by lightly going over the surface with a dry brush or roller to remove buildup
For doors and drawers:
- Start with the backside first
- Paint detailed areas first, feathering edges outward
- Use a foam roller on flat surfaces
- Use painter’s tripods to elevate doors so you can paint edges
Step 9: Apply Second Coat
Follow paint directions for dry time between coats—typically 4–16 hours. Apply a second coat for full coverage and durability .
Step 10: Allow Proper Cure Time
This is the most overlooked step. Even when paint feels dry to touch, it hasn’t fully cured. Allow the full cure time (usually 7 days) before reassembling and using cabinets normally .
Common Mistakes to Avoid
1. Skipping Proper Cleaning
Grease is the enemy of paint adhesion. Degrease thoroughly with TSP.
2. Inadequate Sanding
Paint needs a slightly rough surface to grip. Don’t skip this step.
3. Rushing Between Coats
Follow manufacturer recoat times exactly. Rushing can cause wrinkling or poor adhesion.
4. Using Wall Paint
Wall paint isn’t formulated for the heavy wear cabinets endure. You’ll likely have chipping and staining sooner .
5. Overloading the Brush
Thin coats are better than thick, drippy coats. Multiple thin coats create a smoother, more durable finish.
Frequently Asked Questions
What is the most durable paint for kitchen cabinets?
The most durable is typically an alkyd or waterborne acrylic urethane enamel because they resist abrasion and frequent cleaning .
Is it better to spray or brush paint cabinets?
Spraying gives the smoothest, factory-like finish, but brushing or rolling is fine if you use high-quality tools and take time to level the paint . For DIYers, brushing with self-leveling paint can produce excellent results.
Do I need to sand cabinets before painting?
Yes. Prior to applying paint, all surfaces should be clean, dry, and free of contaminants. All glossy surface areas should be lightly sanded to effectively dull any existing sheen and create a more suitable surface for painting .
Can I use regular wall paint on cabinets?
No—wall paint isn’t formulated for heavy wear; you’ll likely have chipping and staining sooner. Use cabinet-specific or durable enamel finishes instead .
How many coats of paint do cabinets need?
Usually 2–3 thin coats provide the best coverage and durability; sanding lightly between coats improves adhesion and smoothness .
What finish hides fingerprints best?
Satin finishes hide fingerprints better than high-gloss, while matte hides texture but can be harder to clean .
Do I need to prime cabinets before painting?
Yes—especially on laminate, oak, or previously stained wood. A quality primer improves adhesion and prevents tannin bleed-through .
How long should I wait before reassembling cabinets?
Wait the full manufacturer-recommended cure time (typically 7 days) before hanging doors and loading cabinets. Paint continues to harden during this period.
Budget and ROI
| Option | Cost Range | Durability | DIY Difficulty |
|---|---|---|---|
| Repaint cabinets | $200–$600 (DIY) | 5–10 years | Moderate |
| Professional painting | $2,000–$5,000 | 10–15 years | N/A |
| New stock cabinets | $5,000–$12,000 | 15–25 years | Difficult |
| New custom cabinets | $12,000–$25,000+ | 25–40 years | Professional |
ROI: Painting cabinets offers one of the highest returns of any kitchen improvement, with a cost recovery of 70–85% at resale.
Final Recommendations
After comparing top options for 2026, here are our picks for different situations:
- Best overall for most DIYers: Benjamin Moore Advance – forgiving application, durable finish, beautiful results
- Best for experienced painters: Sherwin-Williams Emerald Urethane – unmatched factory finish with careful technique
- Best value: Behr Urethane Alkyd – premium performance at a budget price
- Best for laminate/varnished surfaces: Insl-X Cabinet Coat – superior adhesion without primer
- Best farmhouse aesthetic: General Finishes Milk Paint – beautiful matte finish with proper sealing
Pro Tips for Success
- Test your color on an actual cabinet door before committing
- Count on 2–3 coats depending on opacity
- Consider spraying for the smoothest finish if you have the equipment
- Be patient with cure times—don’t rush reassembly
- Upgrade hardware for a completely refreshed look
With the right paint and proper preparation, you can transform your kitchen at a fraction of replacement cost. Your cabinets will look fresh and stay durable for years to come.