How to Remove Mold from Drywall Safely: Complete Guide for Homeowners (2026)
Discovering mold on your drywall can be alarming. Those dark spots aren’t just unsightly they can pose health risks and compromise your home’s structural integrity if left untreated. The good news? Many mold problems can be safely addressed by homeowners, provided you understand when to DIY and when to call professionals.
Quick Answer: Small areas of mold on drywall (under 10 square feet) can often be cleaned safely with white distilled vinegar, hydrogen peroxide, or commercial mold removers. Larger infestations, mold inside walls, or black mold (Stachybotrys chartarum) require professional remediation. Safety gear including N95 respirators, gloves, and eye protection is essential for any mold cleanup .
When to DIY vs. Call a Professional
| Situation | DIY Safe? | Action Required |
|---|---|---|
| Small patch under 10 sq ft | ✅ Yes | Clean with appropriate solution |
| Visible mold on surface only | ✅ Yes | Clean and address moisture source |
| Mold returns after cleaning | ❌ No | Professional assessment needed |
| Area over 10 sq ft | ❌ No | Professional remediation required |
| Mold inside walls | ❌ No | Professional inspection and removal |
| Black mold (suspected) | ❌ No | Professional testing and remediation |
| HVAC contamination | ❌ No | Professional HVAC cleaning |
| Health symptoms present | ❌ No | Evacuate, call professionals |
Health Risks of Mold Exposure
Mold exposure can cause various health effects, particularly in sensitive individuals :
Common symptoms:
- Nasal congestion and sneezing
- Throat irritation
- Coughing or wheezing
- Eye irritation
- Skin rashes
Severe reactions (in susceptible people):
- Asthma attacks
- Severe respiratory issues
- Hypersensitivity pneumonitis (rare)
- Fungal infections (in immunocompromised individuals)
The Centers for Disease Control and Prevention (CDC) recommends that all mold be removed regardless of type—there’s no need to identify the species before removal .
Safety First: Essential Protective Equipment
Before touching any mold, gather proper safety gear :
| Equipment | Purpose | Where to Buy |
|---|---|---|
| N95 or N100 respirator | Prevents inhaling mold spores | Hardware stores, Amazon |
| Disposable gloves (nitrile) | Protects skin from mold and cleaners | Hardware stores, pharmacies |
| Safety goggles | Protects eyes from spores and splashes | Hardware stores |
| Disposable coveralls | Prevents spores on clothing (for larger areas) | Paint supply stores |
| Plastic sheeting | Contains affected area | Hardware stores |
| Duct tape | Seals plastic sheeting | Hardware stores |
Important: Do not use a standard dust mask—it won’t filter mold spores effectively. Always use at least an N95 respirator .
Tools and Supplies You’ll Need
Cleaning Solutions (Choose One)
| Solution | Effectiveness | Best For | Notes |
|---|---|---|---|
| White distilled vinegar | Kills 82% of mold species | Small surface mold | Safe, natural, no bleach |
| Hydrogen peroxide (3%) | Kills bacteria and mold | Porous surfaces | May bleach some surfaces |
| Rubbing alcohol (70%) | Disinfectant | Small areas | Highly flammable |
| Commercial mold remover | Professional grade | Stubborn mold | Follow manufacturer instructions |
| Detergent and water | Light surface mold | Non-porous surfaces | For very light growth only |
⚠️ WARNING: Never mix bleach with ammonia or other cleaners—toxic gas can result. The EPA no longer recommends bleach for routine mold cleanup except in specific situations .
Other Supplies
- Spray bottles
- Scrub brushes (soft and stiff bristles)
- Buckets
- Clean rags or paper towels
- Trash bags (heavy-duty)
- Fan for drying
- Dehumidifier (if available)
Step-by-Step Guide to Remove Mold from Drywall
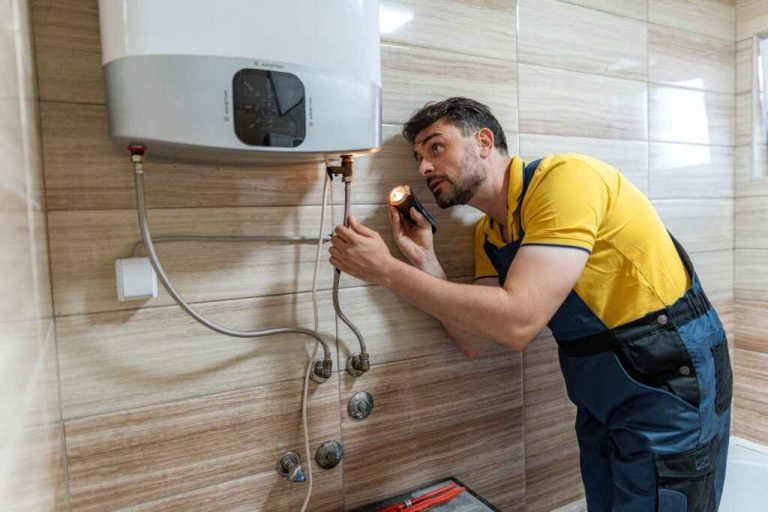
Step 1: Identify and Fix the Moisture Source
Mold needs moisture to grow. If you don’t fix the underlying problem, it will return. Common moisture sources include :
- Plumbing leaks
- Roof leaks
- Poor ventilation (bathrooms, kitchens)
- High humidity (above 60%)
- Condensation on cold surfaces
- Flooding or water intrusion
Before cleaning: Fix any leaks, improve ventilation, or address humidity issues. Use a moisture meter to ensure drywall isn’t still wet .
Step 2: Contain the Area (for larger spots)
For areas larger than a few square feet :
- Close doors and windows in the work area
- Cover air vents with plastic sheeting
- Seal doorways with plastic sheeting
- Open a window and use a fan blowing outward to create negative pressure
This prevents mold spores from spreading to other parts of your home during cleaning .
Step 3: Put on Protective Gear
Don your respirator, gloves, and goggles before entering the affected area. Make sure gloves extend over your sleeves .
Step 4: Test Cleaning on a Small Area
Before tackling the entire spot, test your cleaning solution on an inconspicuous area to ensure it doesn’t damage the paint or drywall finish .
Step 5: Apply Cleaning Solution
For non-porous surfaces (painted drywall in good condition):
- Spray the cleaning solution onto the moldy area
- Let it sit for 5–10 minutes to penetrate
- Scrub gently with a soft brush
- Wipe clean with a damp rag
- Dry thoroughly with a clean cloth
For porous surfaces (unpainted drywall or damaged paint):
If mold has penetrated the surface, cleaning may not be enough. Drywall is like paper—once mold gets into the paper facing, it’s nearly impossible to fully remove .
Step 6: Dry Completely
After cleaning, the area must be dried completely within 24–48 hours to prevent regrowth :
- Use fans to circulate air
- Run a dehumidifier if available
- Open windows if humidity outside is lower than inside
- Check moisture levels with a meter (should be below 15% for drywall)
Step 7: Dispose of Contaminated Materials
Place all cleaning rags, paper towels, and disposable protective gear in heavy-duty trash bags. Seal tightly and dispose with regular trash .
Step 8: Monitor the Area
Check the cleaned area regularly for the next few weeks. If mold returns, you either didn’t remove it completely or the moisture problem persists.
When You Must Remove and Replace Drywall
Sometimes cleaning isn’t enough. You’ll need to cut out and replace drywall if :
- Drywall is soft or crumbling – Structural damage has occurred
- Mold covers more than 10 square feet – Professional remediation required by EPA guidelines
- Mold has penetrated deep into the drywall – Surface cleaning won’t reach it
- Drywall has been wet for more than 48 hours – Mold has likely grown throughout
- There’s a musty odor after cleaning – Mold may be inside the wall cavity
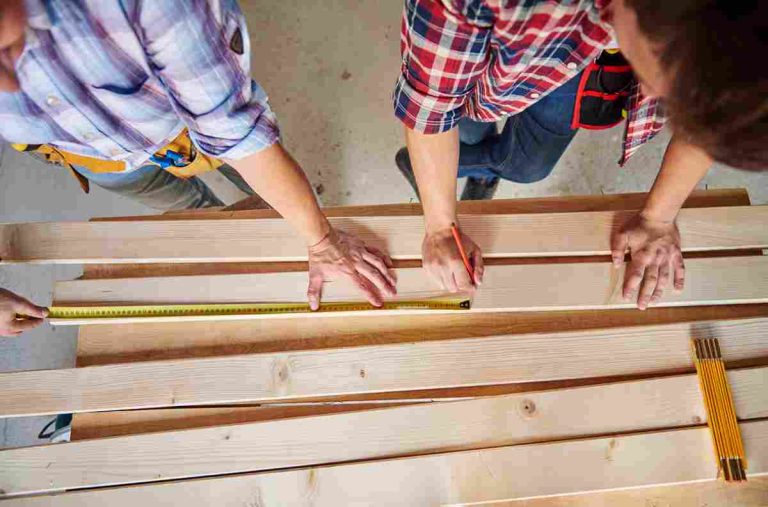
How to Remove and Replace Moldy Drywall
Tools needed:
- Utility knife or keyhole saw
- Stud finder
- Tape measure
- New drywall
- Drywall screws
- Joint compound and tape
- Sandpaper
Steps:
- Mark the cut area: Use a stud finder to locate studs. Mark a rectangle that extends at least 6 inches beyond visible mold
- Cut along stud centers: Cut through drywall along the center of studs so you have nailing surfaces for the new piece
- Remove damaged drywall: Carefully pull out the cut section
- Inspect inside wall: Check for mold on studs, insulation, or wiring. If present, call a professional
- Install new drywall: Cut replacement piece to size, screw into studs
- Finish: Tape, mud, sand, and paint
Professional Mold Remediation: When to Call
The EPA recommends professional remediation when :
- Mold covers more than 10 square feet
- Mold is in HVAC systems
- Water damage was extensive (flooding)
- You suspect hidden mold (inside walls)
- Occupants have health conditions (asthma, allergies, immune suppression)
- Mold returns after cleaning
Professional remediation costs (2026):
| Service | Average Cost Range |
|---|---|
| Mold inspection and testing | $300 – $800 |
| Small area remediation (<10 sq ft) | $500 – $1,500 |
| Medium area (10–30 sq ft) | $1,500 – $3,500 |
| Large area (30–100 sq ft) | $3,500 – $6,000 |
| Whole-home remediation | $6,000 – $15,000+ |
| HVAC cleaning | $500 – $2,000+ |
Most homeowners insurance policies cover mold remediation if it results from a covered peril (like sudden plumbing leak) but not from long-term neglect or humidity .
Preventing Mold Growth on Drywall
Once you’ve removed mold, preventing its return is essential :
1. Control Humidity
- Keep indoor humidity below 50–60% (ideally 30–50%)
- Use dehumidifiers in damp basements
- Run exhaust fans in bathrooms and kitchens
- Monitor humidity with a hygrometer ($10–$30)
2. Fix Leaks Immediately
- Repair plumbing leaks within 24 hours
- Fix roof leaks promptly
- Seal windows and doors that leak air
3. Improve Ventilation
- Ensure bathrooms vent to outside (not attic)
- Use kitchen exhaust fans when cooking
- Open windows when weather permits
- Consider an ERV/HRV for tight homes
4. Use Mold-Resistant Products
- Purple drywall (like CertainTeed M2Tech or USG Mold Tough) has mold-resistant paper and core
- Fiberglass-faced drywall for high-moisture areas
- Mold-resistant paint (with antimicrobial additives)
5. Maintain Your Home
- Clean gutters regularly
- Grade soil away from foundation
- Inspect under sinks monthly
- Check for condensation on windows and pipes
Natural vs. Chemical Mold Cleaners
Natural Options
| Cleaner | Effectiveness | Safety | Best Use |
|---|---|---|---|
| White vinegar | Kills 82% of mold | Safe, non-toxic | Surface mold on non-porous surfaces |
| Hydrogen peroxide (3%) | Good | Safe, breaks down to water and oxygen | Porous and non-porous surfaces |
| Tea tree oil | Excellent | Natural but expensive | Small areas, preventive |
| Baking soda | Mild | Safe | Light surface mold, scrubbing |
| Grapefruit seed extract | Good | Safe | Preventive spray |
Chemical Options
| Cleaner | Effectiveness | Safety Concerns | Best Use |
|---|---|---|---|
| Bleach (diluted) | Kills surface mold | Toxic fumes, damages drywall | Non-porous surfaces only |
| Commercial mold removers | Excellent | Follow label directions | Stubborn mold |
| Concrobium | Good | Low toxicity | Porous surfaces |
| RMR-86 | Excellent | Strong fumes | Instant stain removal |
Important: The EPA and most mold experts no longer recommend bleach for routine mold cleanup because :
- Bleach doesn’t penetrate porous materials like drywall
- The water in bleach can actually feed mold deeper into materials
- Bleach fumes are harmful
- It doesn’t prevent regrowth
Frequently Asked Questions
Can I remove black mold myself?
If the area is small (under 10 sq ft) and you take proper safety precautions, yes. However, if you’re unsure whether it’s actually “black mold” (Stachybotrys) or if you have health concerns, call a professional .
Does painting over mold work?
No. Painting over mold doesn’t kill it—the mold will continue growing underneath and eventually show through. Always remove mold completely before painting .
How do I know if mold is inside walls?
Signs include musty odors, unexplained allergy symptoms, water stains, peeling paint, or visible mold at baseboards. Thermal imaging or moisture meters can help detect hidden mold .
What kills mold spores in the air?
HEPA air purifiers can capture airborne spores. UV lights in HVAC systems can also kill spores. However, source removal is always the priority .
Can mold dry out and become inactive?
Yes, mold can become dormant when dry, but it will reactivate when moisture returns. Dead mold can still trigger allergies—it should be removed regardless .
How long does it take for mold to grow?
Mold can begin growing within 24–48 hours of moisture exposure. This is why quick drying after leaks is critical .
Is white mold dangerous?
White mold is less studied than black mold, but any mold growth should be removed. The color doesn’t necessarily indicate toxicity .
Can I use a dehumidifier to kill mold?
Dehumidifiers prevent mold growth by reducing moisture, but they won’t kill existing mold. The mold must be physically removed .
Summary: Safe Mold Removal Checklist
✅ Assess: Is the area under 10 sq ft? Can you identify the moisture source?
✅ Protect: Gather N95 respirator, gloves, goggles
✅ Contain: Seal vents and doorways for larger areas
✅ Clean: Use appropriate solution (vinegar, hydrogen peroxide, or commercial product)
✅ Dry: Completely dry within 24–48 hours with fans and dehumidifier
✅ Dispose: Seal all contaminated materials in heavy bags
✅ Monitor: Check regularly for regrowth
✅ Prevent: Fix moisture problems permanently
When in Doubt, Call a Professional
Your health and home’s safety are worth more than the cost of professional remediation. If you’re unsure about the extent of mold, if it keeps returning, or if anyone in your home has respiratory issues, don’t hesitate to call a certified mold remediation specialist.
Look for professionals certified by :
- IICRC (Institute of Inspection, Cleaning and Restoration Certification)
- ACAC (American Council for Accredited Certification)
- State licensing (where required)